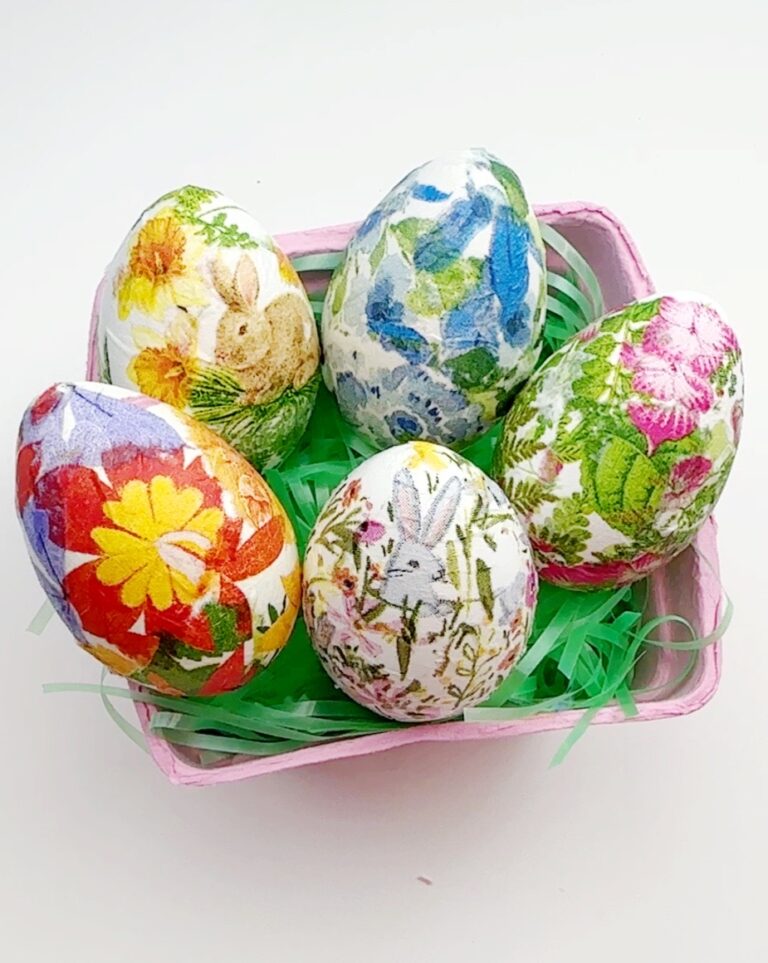
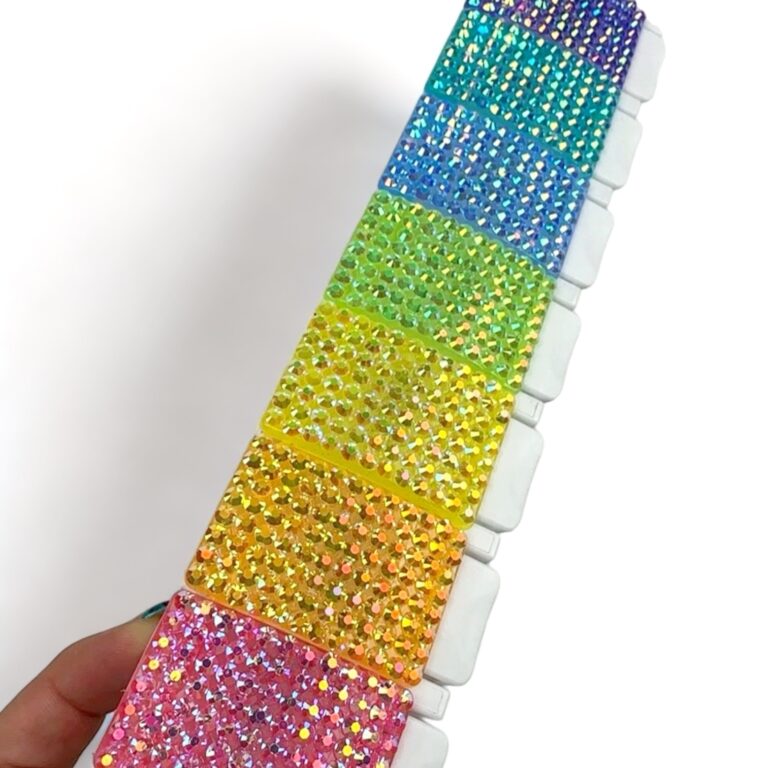
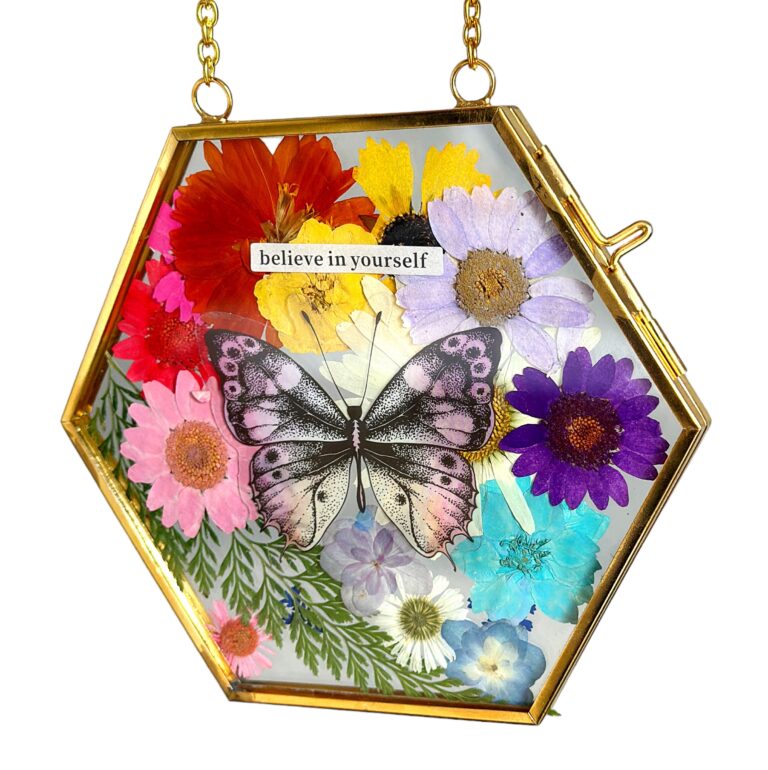
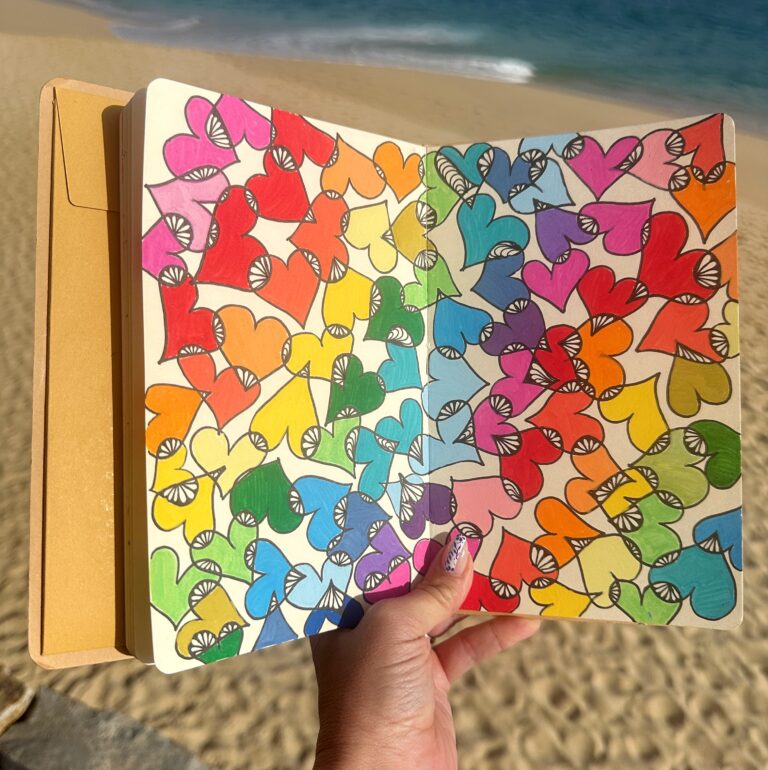
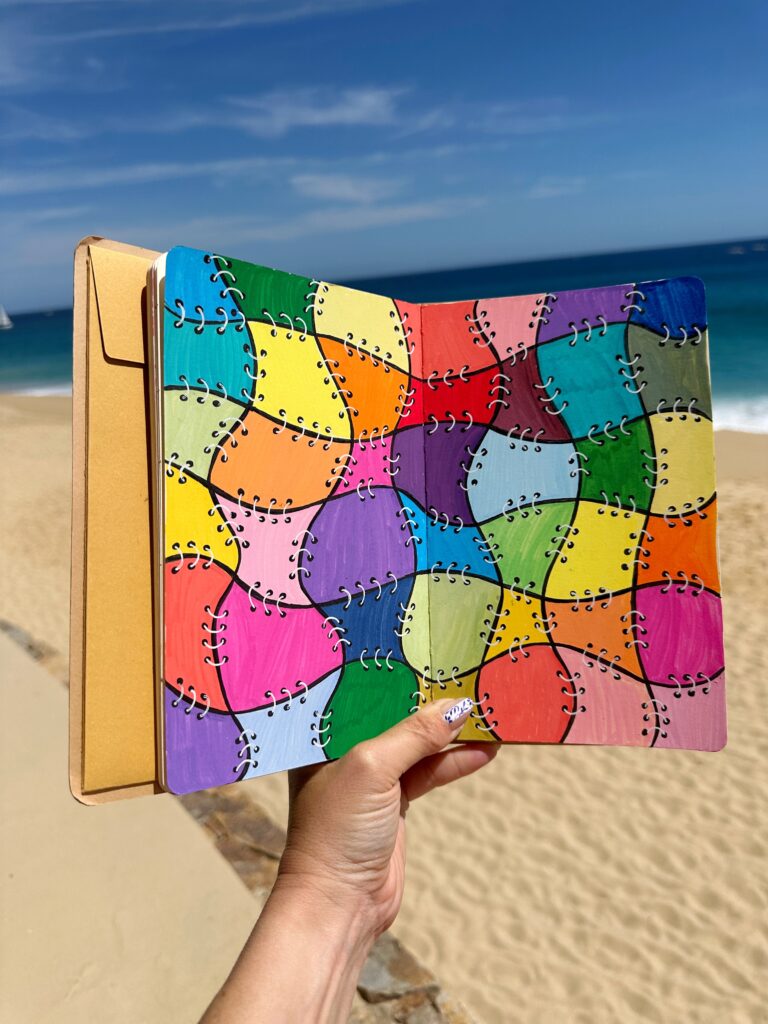
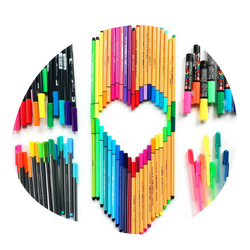
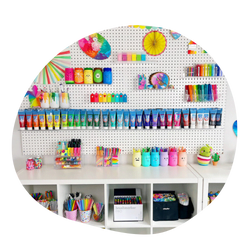
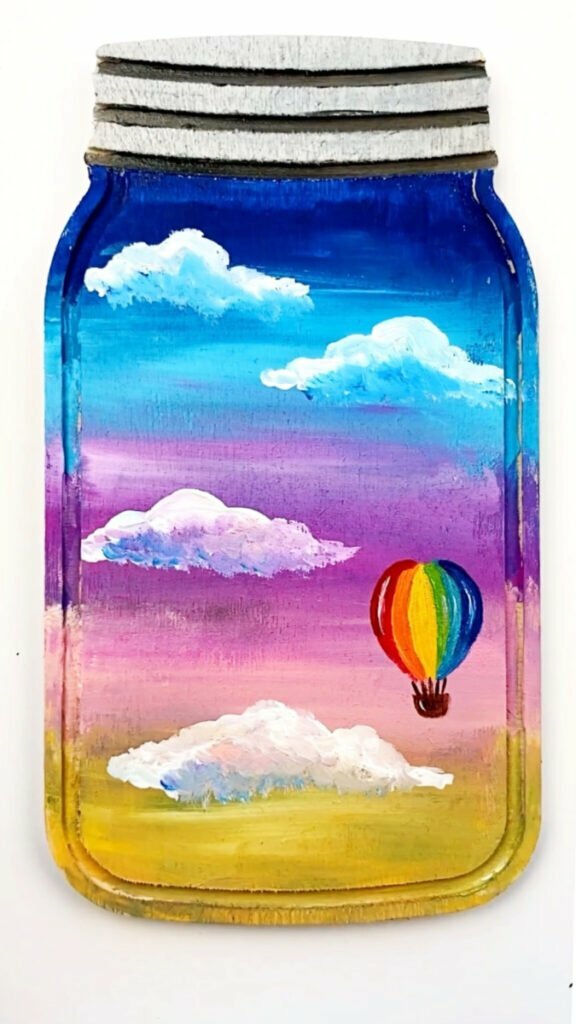
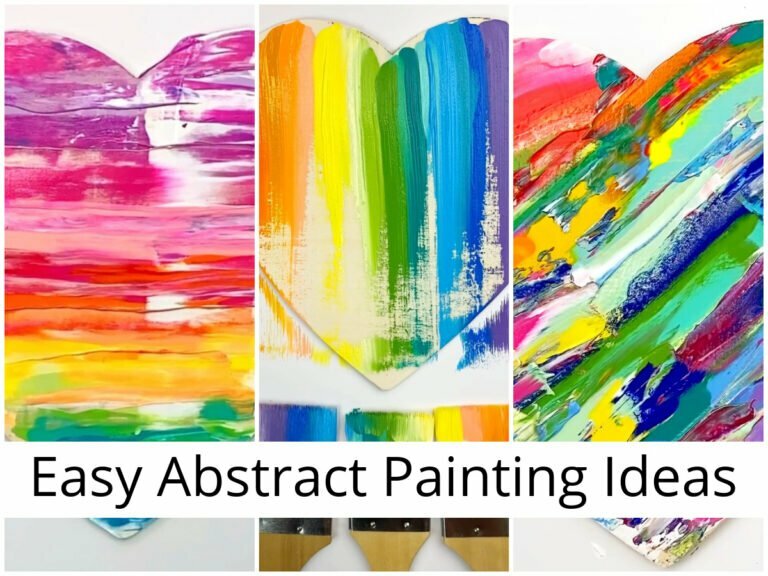
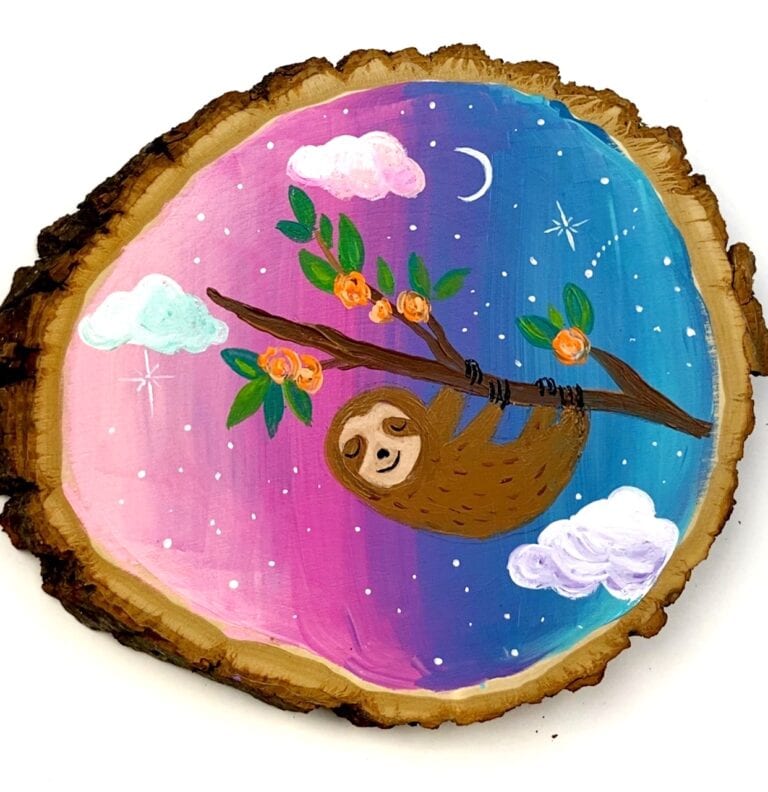
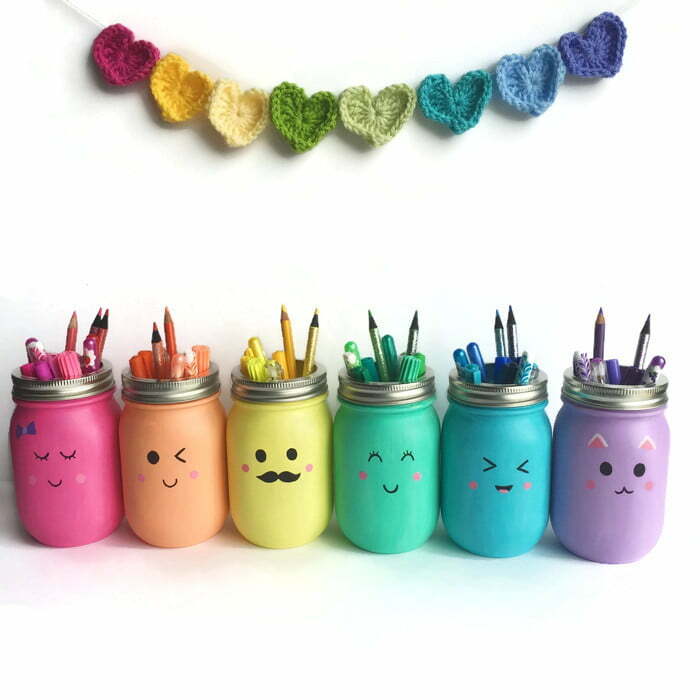
Fun and happy crafts anybody can make at home!
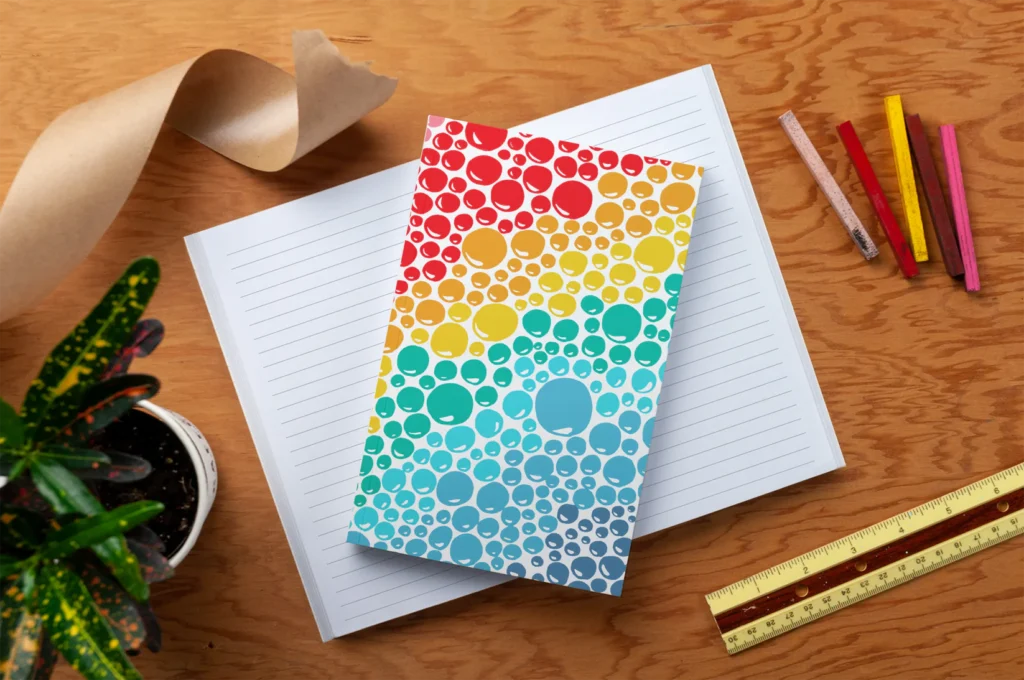
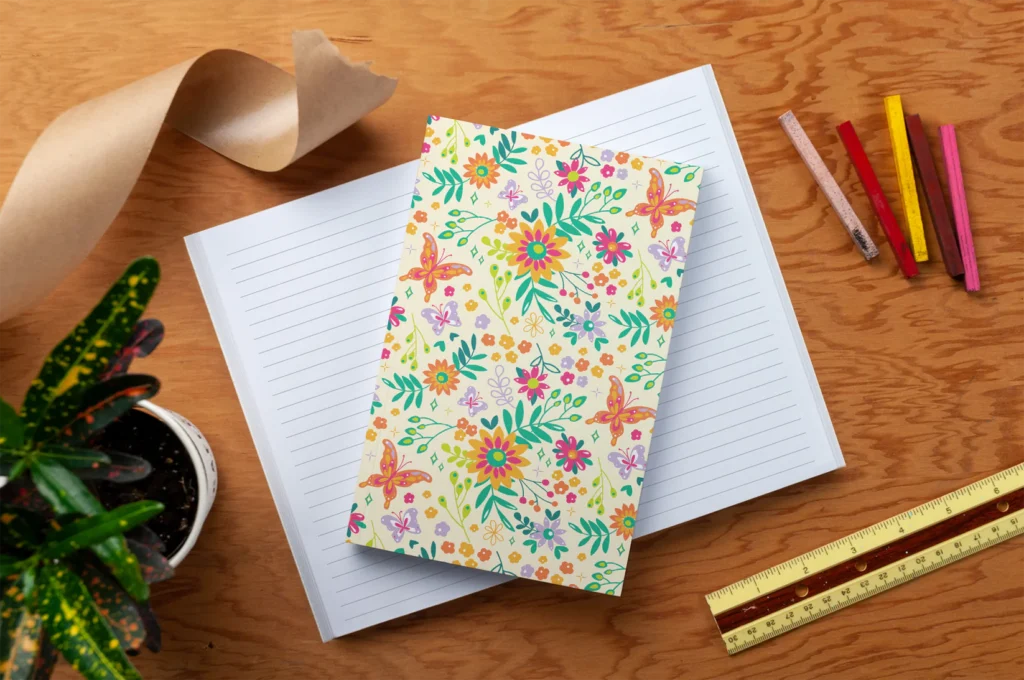
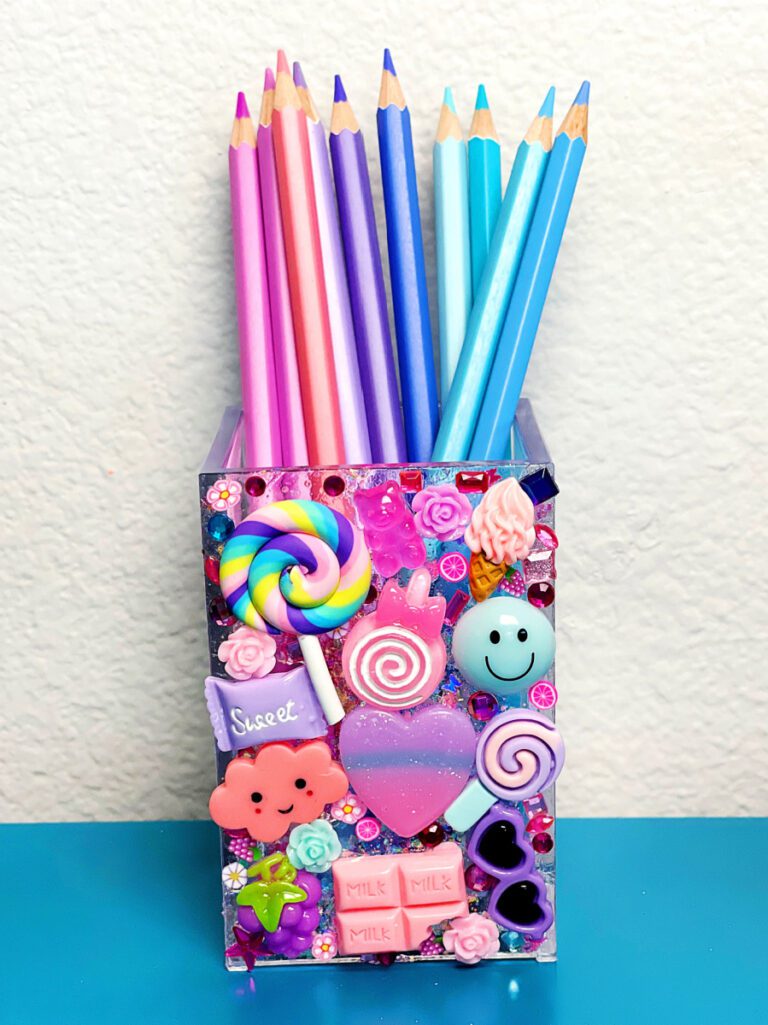
Shop Our Notebook Collection!


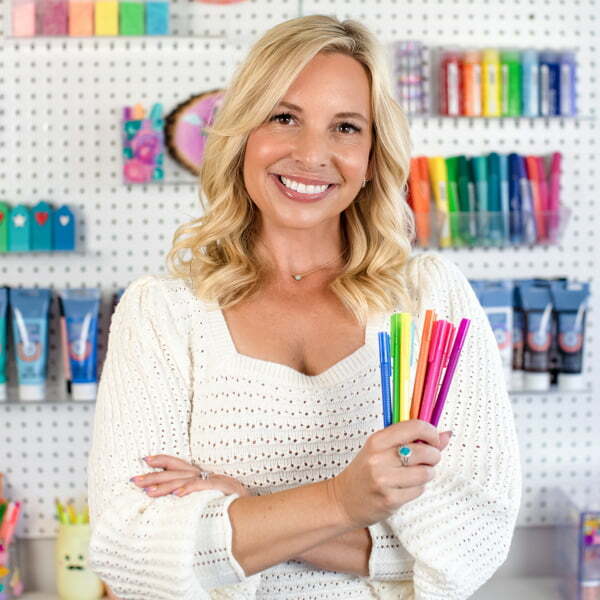
Hi! I’m Sam.
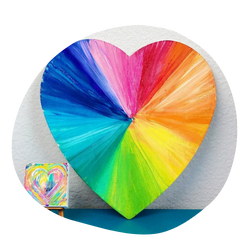
I LOVE all things color and making happy things. The best compliment I could receive is that my projects and pictures make you smile!
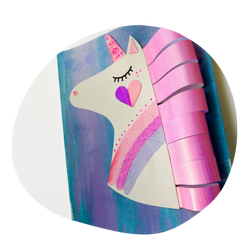
Throughout my site, you’ll find all sort of projects for all ages. My goal is for you to have fun while creating beautiful and colorful art – but there’s no perfect way of doing any of it!
Have fun, and happy creating!

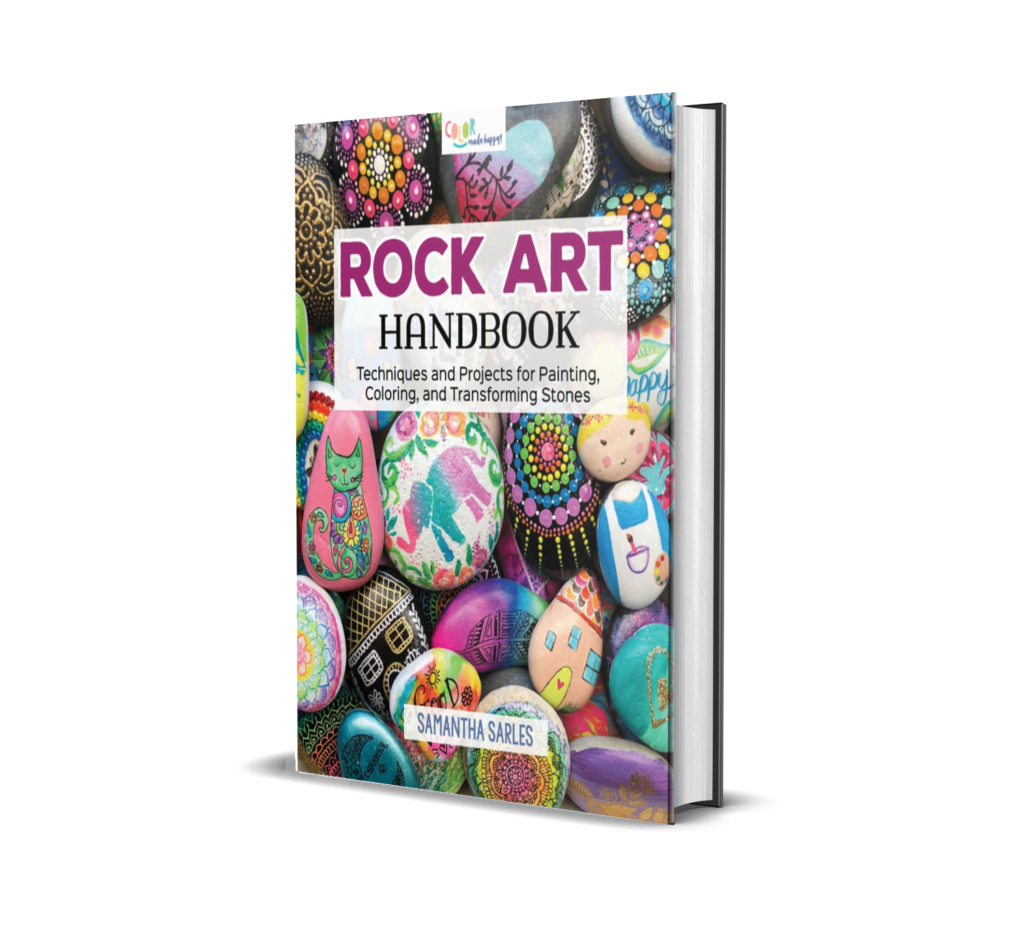
Get My Book: Rock Art Handbook
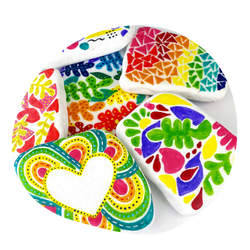
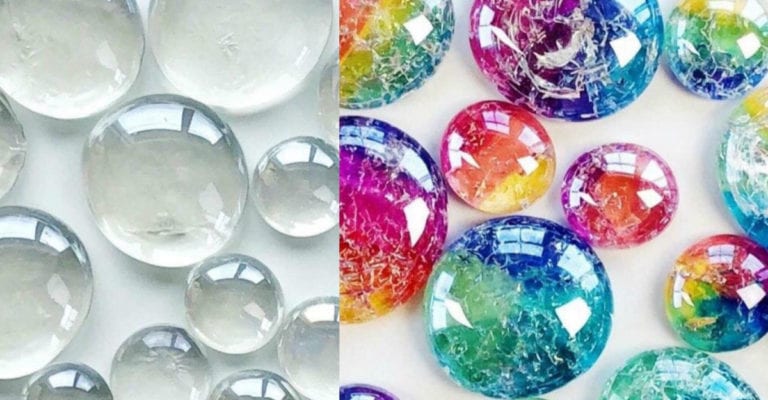
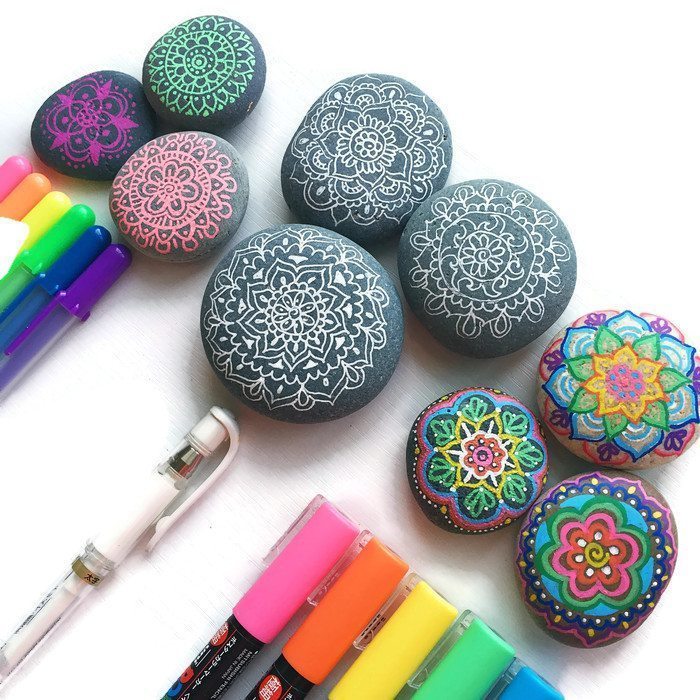
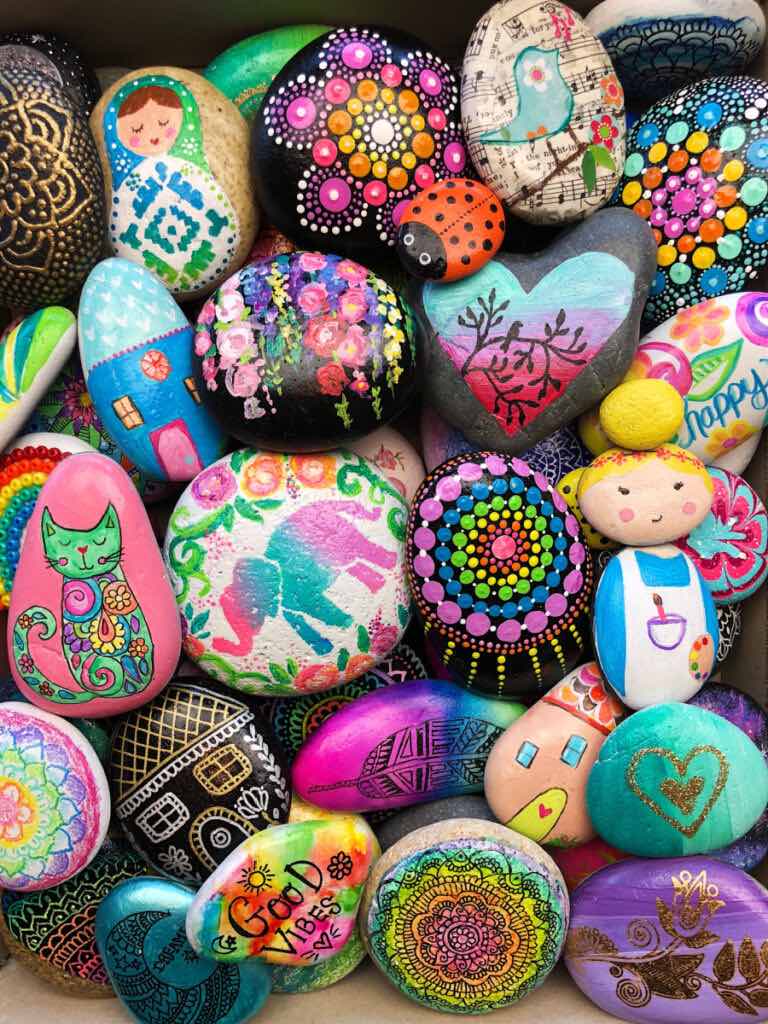
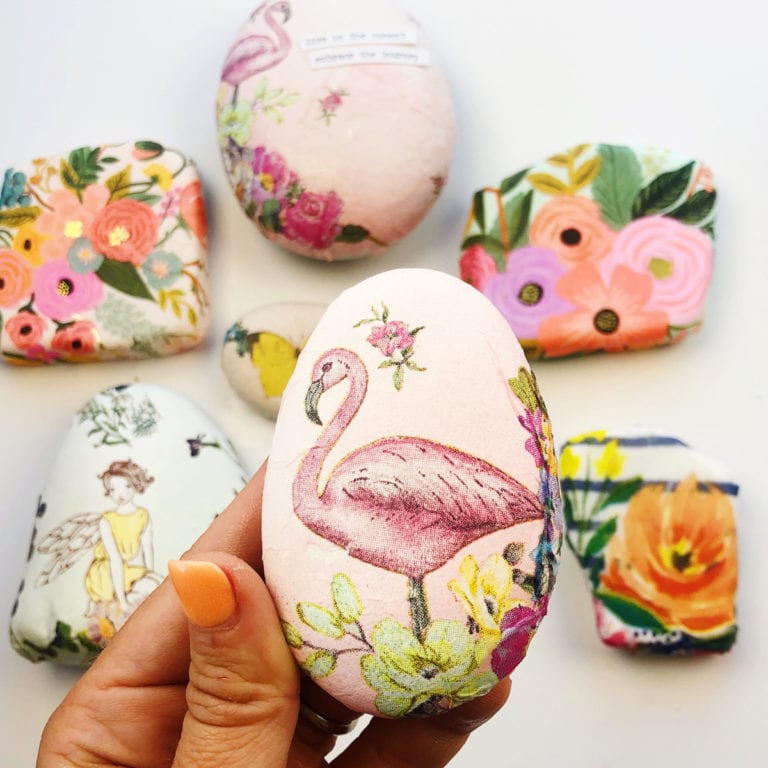
Rock art is showing up everywhere, and anyone can do it!
- Over 30 step-by-step tutorials make Rock Art Handbook your comprehensive rock art resource
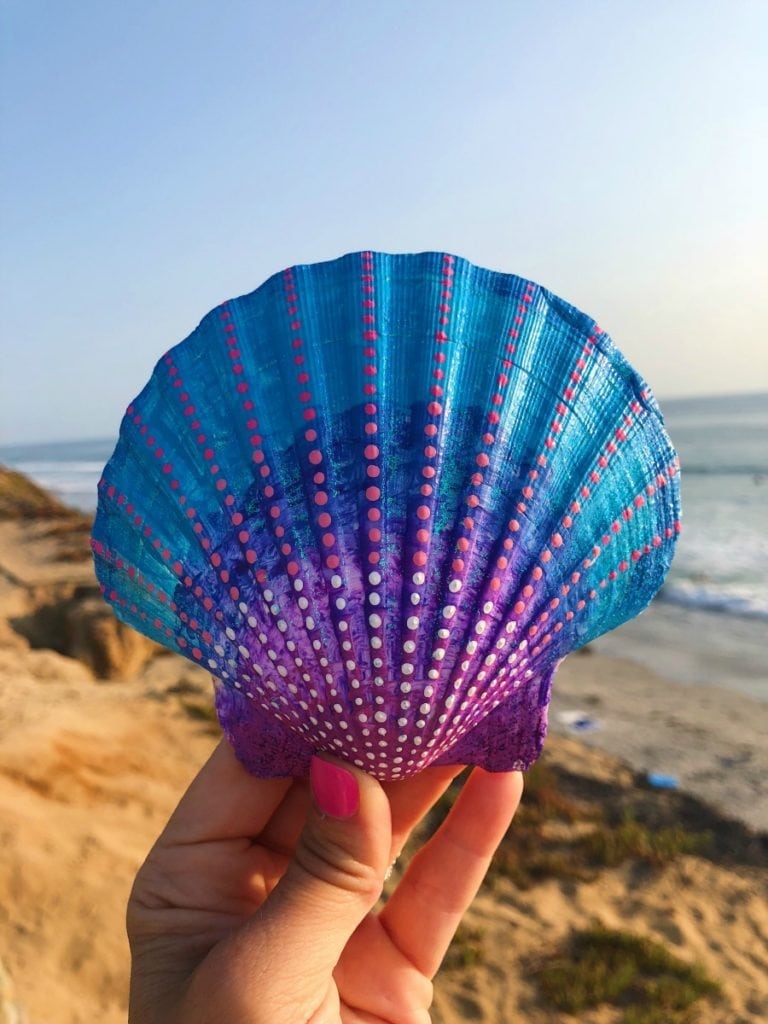
- Covers various craft techniques for decorating rocks like dot painting, marbling, embellishments, and much more
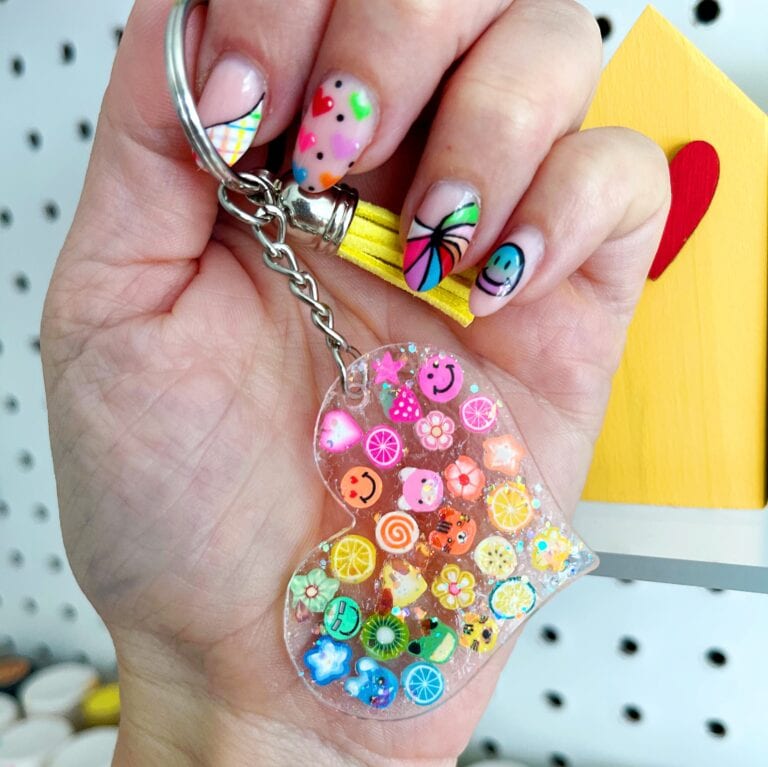
- Use your favorite craft supplies from nail polish, puff paint, and gelly roll pens to chalk, washi tape, glitter glue and more
- Perfect family craft for parents & kids to do together
- Make your own “kindness rock,” a growing trend seen on Facebook and reported on the TODAY show